Introduction to High-Performance Gaming PC Assembly
Building a high-performance gaming PC represents an exciting journey into custom computer assembly, offering unparalleled control over your gaming experience. Unlike pre-built systems, constructing your own gaming rig allows for precise component selection, future-proofing capabilities, and significant cost savings. This comprehensive guide walks you through every critical step, from initial planning to final optimization, ensuring you create a machine that delivers exceptional gaming performance.
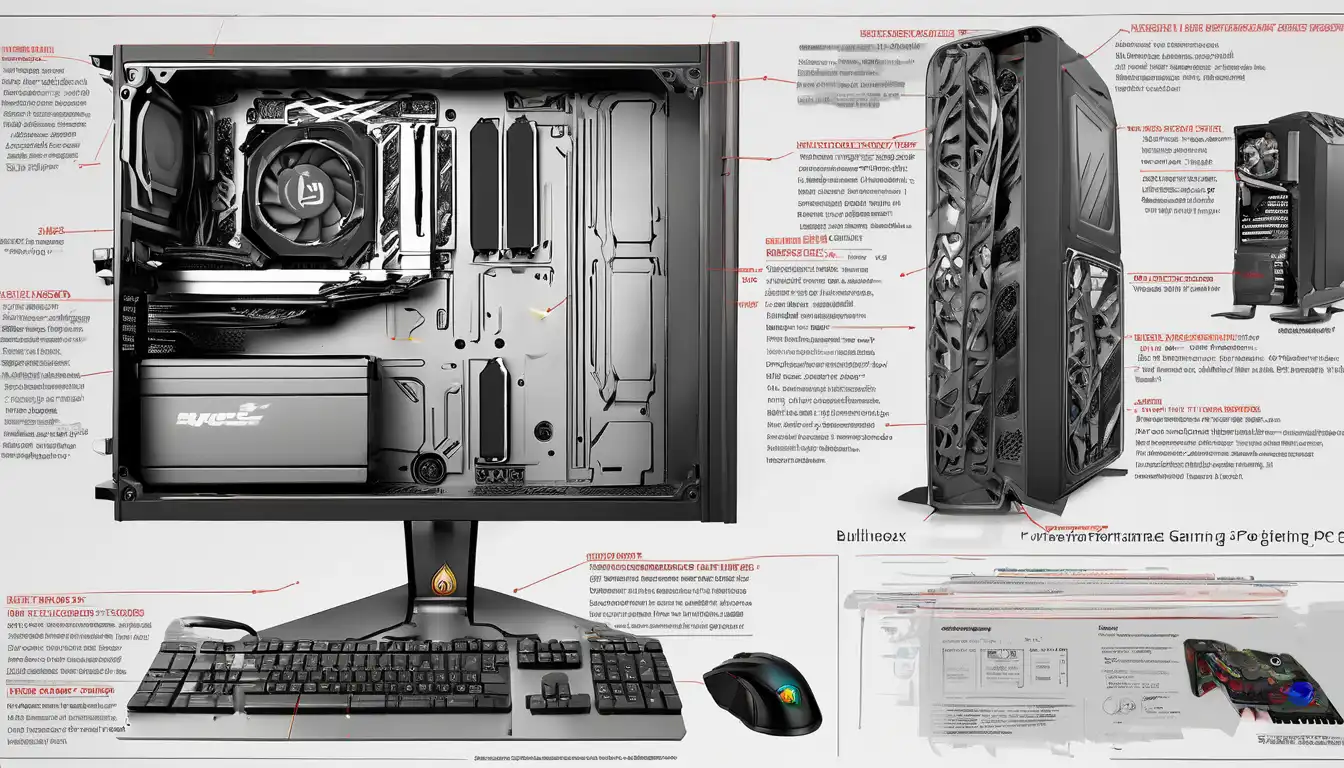
Essential Components for Your Gaming Build
Selecting the right components forms the foundation of any successful gaming PC project. Each part plays a crucial role in determining overall performance, compatibility, and longevity.
Central Processing Unit (CPU)
The CPU serves as the brain of your gaming system, handling game logic, physics calculations, and AI processing. For modern gaming, consider processors from Intel's Core i5/i7/i9 series or AMD's Ryzen 5/7/9 lineup. Key factors include core count (6-8 cores ideal for gaming), clock speeds, and compatibility with your chosen motherboard chipset. Higher-tier CPUs provide better future-proofing and performance in CPU-intensive games.
Graphics Processing Unit (GPU)
Your graphics card dramatically impacts gaming visual quality and frame rates. NVIDIA's RTX 30/40 series and AMD's RX 6000/7000 series offer excellent options across various price points. Consider VRAM capacity (8GB minimum for 1080p, 12GB+ for 1440p/4K), ray tracing capabilities, and power requirements when selecting your GPU. The GPU-market frequently sees new releases, so research current benchmarks before purchasing.
Motherboard Selection
Your motherboard determines component compatibility and expansion capabilities. Key considerations include socket type (matching your CPU), chipset features, RAM slots, connectivity options, and form factor (ATX, micro-ATX, or mini-ITX). Quality motherboards provide better power delivery for stable overclocking and more connectivity options for peripherals and storage devices.
Memory (RAM) Requirements
Modern gaming benefits significantly from 16GB of DDR4 or DDR5 RAM, though 32GB provides better future-proofing for demanding titles and multitasking. Focus on speed (3200MHz+ for DDR4, 4800MHz+ for DDR5) and latency timings. Dual-channel configurations (2 or 4 sticks) offer better performance than single-channel setups.
Storage Solutions
NVMe SSDs provide lightning-fast load times, while SATA SSDs offer excellent value for game storage. Consider a 500GB-1TB NVMe SSD for your operating system and frequently played games, supplemented by larger SATA SSDs or HDDs for additional storage. The storage-landscape continues evolving with PCIe 4.0 and 5.0 options becoming more accessible.
Power Supply Unit (PSU)
A quality PSU ensures stable power delivery and system protection. Calculate your total power requirements (add 20-30% headroom) and choose units with 80 Plus Bronze certification or higher. Modular PSUs simplify cable management, while semi-modular options balance cost and convenience.
Case and Cooling
Your case affects thermals, noise levels, and build aesthetics. Look for good airflow design, dust filters, and sufficient space for your components. Cooling solutions range from air coolers (excellent value) to all-in-one liquid coolers (superior performance for overclocking). Proper case-fan placement ensures optimal airflow across critical components.
Step-by-Step Assembly Process
Following a systematic approach prevents errors and ensures a successful build. Prepare your workspace with adequate lighting, anti-static precautions, and necessary tools before beginning.
Preparing the Case
Start by removing side panels and installing case fans in their optimal positions (front/bottom as intake, rear/top as exhaust). Install the PSU, routing cables through appropriate management holes. Install motherboard standoffs according to your board's form factor, ensuring proper alignment.
Motherboard Preparation
Install the CPU carefully into the socket, aligning golden triangle markers. Apply thermal paste (pea-sized dot method) if using an aftermarket cooler. Install RAM modules in the recommended slots (usually A2/B2 for dual-channel). Mount the M.2 SSD if applicable, securing it with the provided screw.
Component Installation
Carefully lower the prepared motherboard into the case, aligning with standoffs. Secure with screws, ensuring not to overtighten. Install the GPU into the primary PCIe x16 slot, engaging the retention clip. Connect storage drives to appropriate SATA ports and power connectors.
Cable Management
Route power cables from the PSU to each component: 24-pin motherboard, 8-pin CPU, PCIe power for GPU, and SATA power for storage. Use cable ties and routing channels to create a clean, organized build that promotes optimal airflow. Proper cable-management significantly improves thermals and aesthetics.
Final Connections
Connect front panel headers (power switch, reset, LEDs) according to motherboard manual diagrams. Attach case fans to motherboard headers or fan controllers. Connect storage data cables and ensure all power connections are secure. Double-check every connection before proceeding to power-on.
BIOS Configuration and Operating System Installation
After successful assembly, configure your BIOS/UEFI settings for optimal performance. Enable XMP/DOCP profiles for RAM, set boot priority to your installation media, and configure fan curves for balanced cooling. Install your preferred operating system (Windows 10/11 recommended for gaming), followed by necessary drivers from component manufacturers' websites.
Performance Optimization and Testing
Once your system is operational, implement performance enhancements. Update all drivers, particularly GPU drivers for the latest game optimizations. Use monitoring software to check temperatures under load and ensure all components function correctly. Consider mild overclocking if desired, but prioritize stability over marginal performance gains.
Maintenance and Future Upgrades
Regular maintenance ensures long-term performance. Clean dust filters every 1-2 months, reapplying thermal paste annually if temperatures rise. Monitor component health using hardware monitoring tools. The modular nature of custom PCs makes upgrading straightforward—typically starting with GPU upgrades, followed by CPU/motherboard combinations several years later.
Conclusion
Building a high-performance gaming PC delivers immense satisfaction and a perfectly tailored gaming experience. By carefully selecting compatible components, following proper assembly procedures, and implementing ongoing optimization, you create a system that outperforms pre-built alternatives while offering superior upgrade flexibility. The gaming-community continues to embrace custom builds as the ultimate expression of personal computing passion.